
Your website, 2026 edition
Webflow has retired the old editor bar that used to sit at the bottom of your site. Editing now happens somewhere new, and honestly, it is a nicer place to be. Here is everything you need, from logging in to hitting publish.
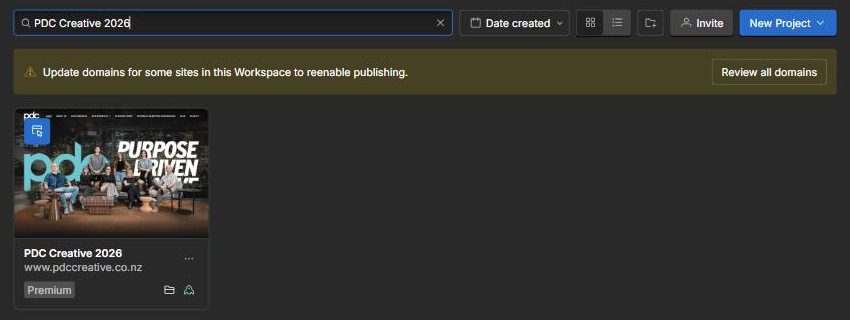
The old way was to add ?edit to the end of your web address and work in a bar at the bottom of the page. Webflow switched that off for good on 4 August 2026. The replacement is called Edit mode, and you get to it by logging in at webflow.com instead. Everything you could do before, you can still do. There are just a few new buttons and a couple of genuinely handy extras.
One login, one bookmark, and you are away.
You will have been emailed an invite from Webflow. Click the link, set yourself a password, and that is your account created. Save the password somewhere sensible, because it is now the only key to the front door.
From then on the routine is always the same:
Bookmark webflow.com and you never have to remember anything else.
Adding ?edit to your web address does nothing now. If you have that bookmarked, replace it with webflow.com.
Use the reset link on the Webflow login screen. If that gets you nowhere, email us and we will remove the account and send you a fresh invite.
Your site fills the screen, with a slim bar along the top. That bar is the whole control panel.
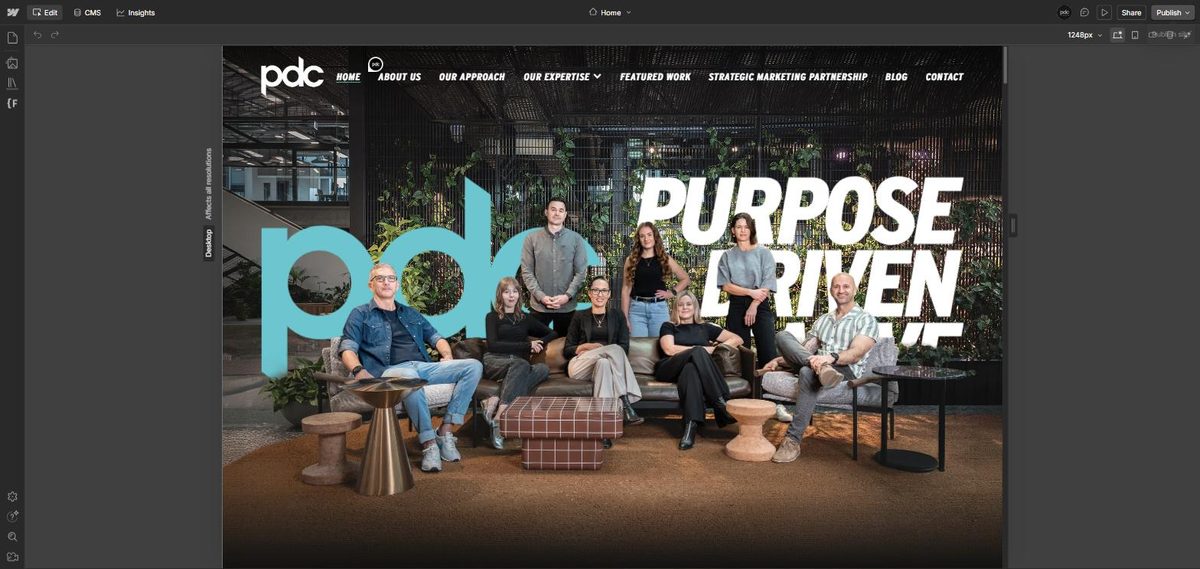
Working across the top bar from left to right:
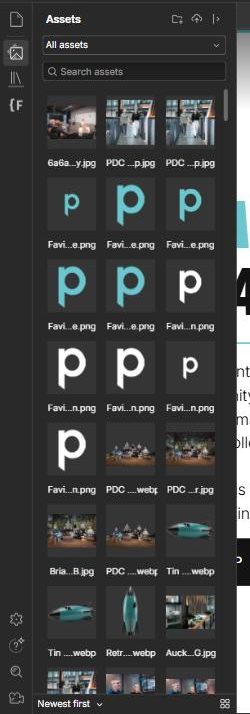
Down the left-hand edge there are a couple of small icons. The top one opens your pages, the next one opens your image library. There is a third for AI instructions that you can safely ignore.
Everything saves itself as you go. It saves to a private working copy of your site though, not to the live one, so your visitors carry on seeing the old version until you publish.
Two ways to get around, and you will end up using both.
The easy one: click through your own navigation, exactly like a visitor would. Links work normally in Edit mode.
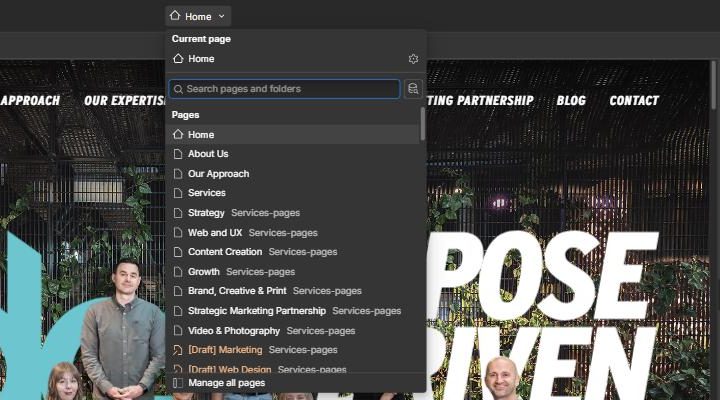
The quick one: click the page name in the middle of the top bar. You get a searchable list of every page on the site, which is much faster once you have more than a handful.
This is the bit you will do most, and it is about as hard as typing an email.
Move your mouse over the page. Anything you are allowed to change lights up with a blue outline. If nothing lights up, that part of the page is locked, which usually means it is doing something structural. Give us a yell if you need it changed.

Double-click into the text and a cursor appears. Type, delete, select, paste. When you are done, click somewhere else on the page and it saves itself.

If you delete all the text and click away, the box shrinks to nothing and becomes very fiddly to find again. Type the new words first, then delete the old ones.
Select a text box and you will see a small sparkle icon appear next to the pencil. That is Webflow's writing assistant. It can rewrite a paragraph, make it shorter or longer, or shift the tone.
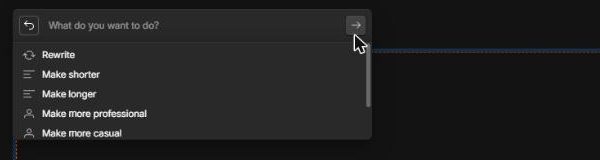
It writes well but it does not know your business, your pricing or your promises. Treat whatever it gives you as a first draft, not a final answer. If the copy we wrote was tuned for search, changing it can undo some of that, so check with us before rewriting anything important.
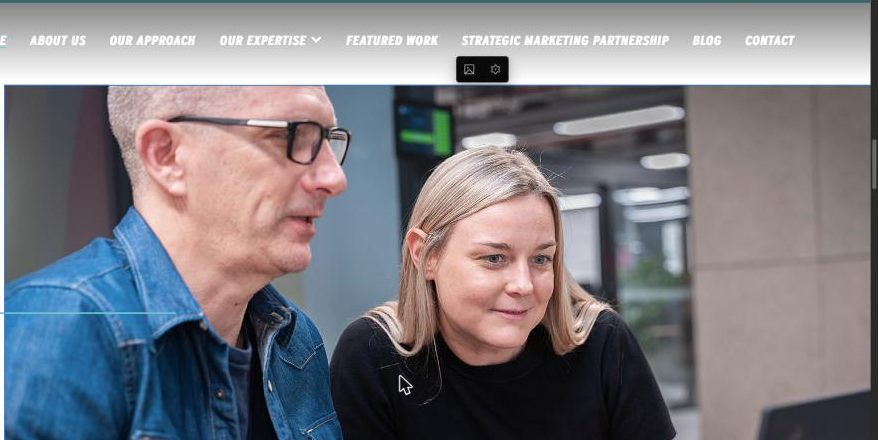
Click the picture, pick a new one, done.
Click an image and a small pair of icons appears just above it. A picture icon and a cog.
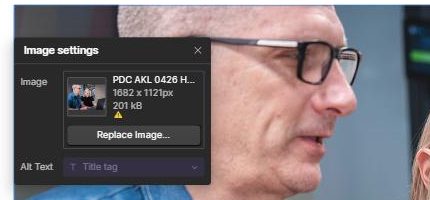
The cog is the one to use. It opens Image settings with a Replace image button, and underneath it a box marked Alt text.
Alt text is a plain description of what is in the picture. Screen readers read it aloud, and Google uses it to work out what the page is about. One honest sentence is all it takes. Team of six standing outside the Whangārei office beats IMG_4471 every time.
A photo straight off a phone or camera can be 8MB, which will slow your page down badly. Aim for something under about 500KB and no wider than roughly 2000 pixels. If you are not sure, send it to us and we will resize it.
Change what it says and where it goes, in the same little panel.
Click a button or a link and you get a small toolbar. The chain-link icon on the end opens Button settings.
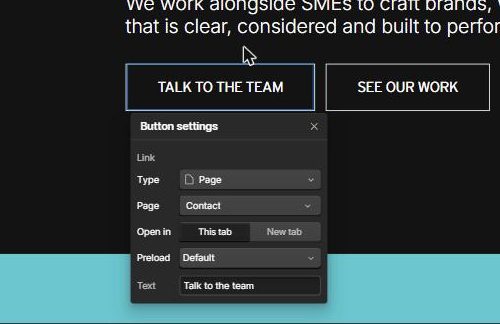
Type decides what kind of destination you are pointing at:
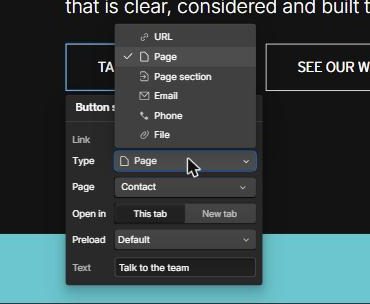
Open in is worth a thought. Leave it on This tab for links to your own pages. Switch it to New tab when you are sending someone off to another website, so your site stays open behind it.
The part of your site that repeats. Blogs, staff, services, case studies.
When we built your site, anything that comes as a list got built once, as a template, and then filled from a collection. Add a new blog post to the collection and the blog page builds itself. That is what CMS means in practice.
Click CMS in the top bar. Your collections run down the left, and the items inside the selected one fill the table on the right.
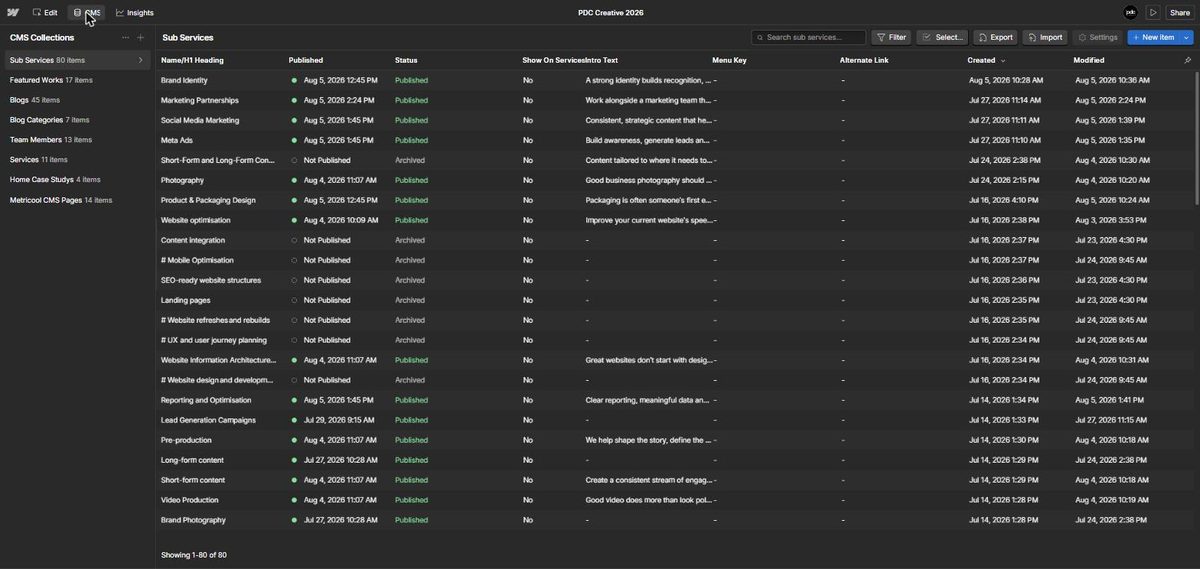
The Status column tells you the state of every item at a glance:
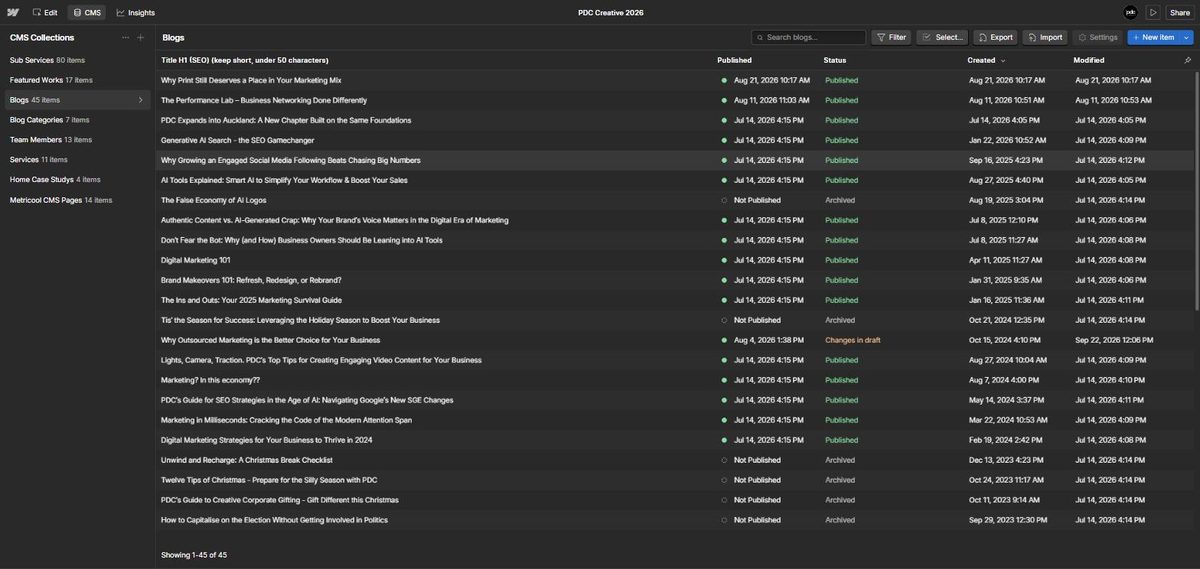
Webflow now lets you edit collection content straight on the page, and it changes that one item rather than the template. That is a real improvement on the old editor, where it was easy to do damage.
Even so, we would still steer you into the CMS tab for collection work. On a page you are often looking at one card out of twelve, and it is easy to lose track of which item you just changed. In the CMS tab you can see every field, and you can see exactly which item you have open.
The slug is the last part of a page's web address. Once an item is live, changing its slug changes its address, which breaks every link to it and loses whatever position it had built up in Google. If a title genuinely has to change, tell us and we will set up a redirect.
A new blog post, a new team member, a new case study.
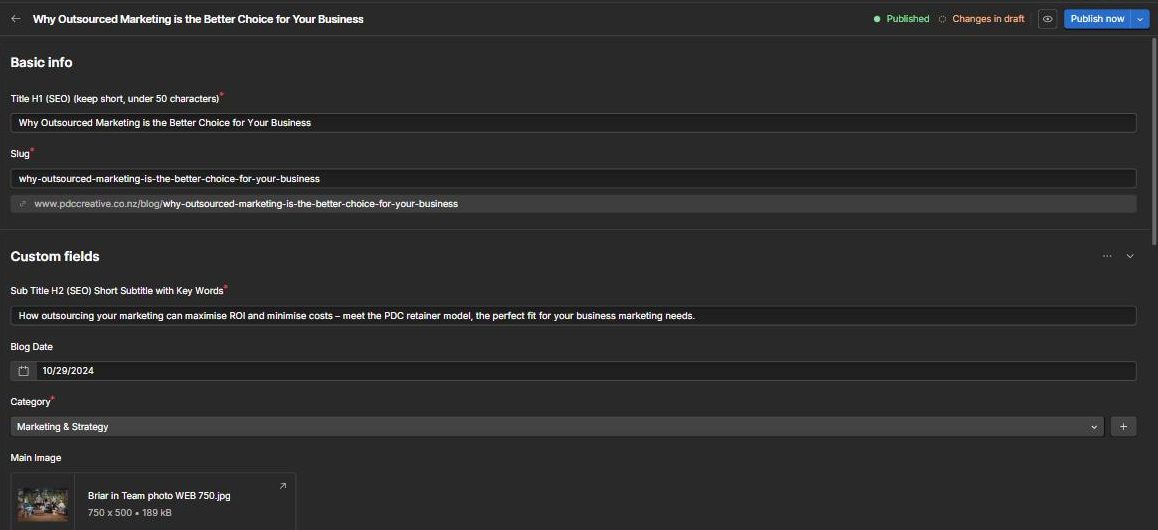
Pick the collection, then click New item at the top right. You get a form with every field the template needs.
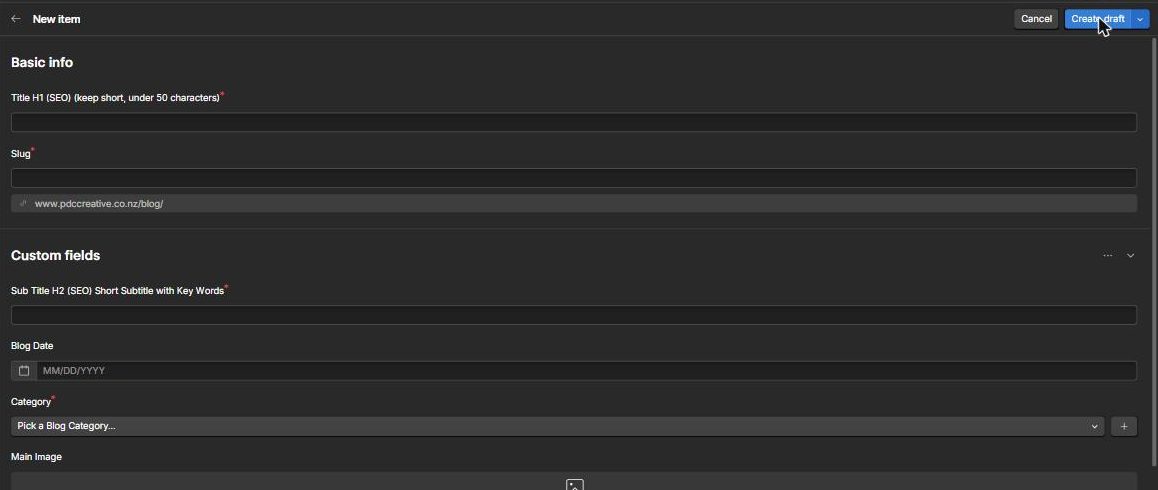
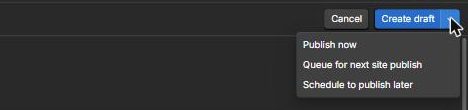
Fill it in top to bottom. The slug fills itself in from the title, so leave it be. Then choose how to save it, using the button at the top right:
It is tempting to duplicate last year's post and type over it. Resist. You end up with a web address that says christmas-hours-2024 on a post about something else entirely, and then we are into redirects. New item, every time.
You will see this message if a required field is empty. Close it, scroll up, and look for the fields with a red dot beside the name.
The big box that holds the body of a blog post. It does far more than text.
A rich text block is the one field where you control the formatting. On a blog post it is usually called something like Post Body. It can hold headings, bullet points, links, quotes, images and video, all in the one box.
Select some text and a toolbar appears above it.

To make a link, select the words you want to turn into a link and click the chain icon. Same six destination types as buttons: a page, a web address, an email, a phone number, a file.
The page already has one H1, which is the post title. Inside the body, use H2 for your main subheadings and H3 underneath those. Google reads that structure to work out how your article is organised, so it genuinely matters.
Start a new line and type a forward slash /. A menu appears with everything you can drop in.
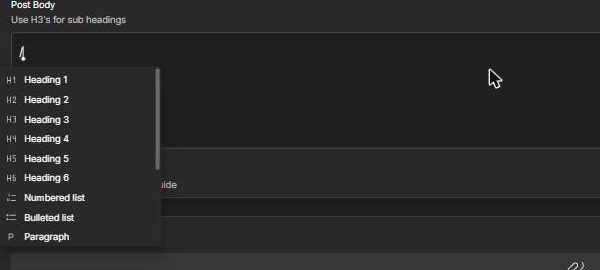
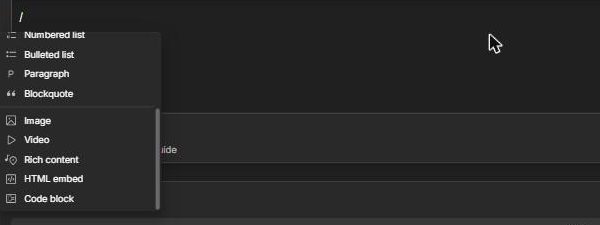
Pasting straight from Word or Google Docs can drag hidden formatting in with it. Paste as plain text (Ctrl+Shift+V on Windows, Cmd+Shift+V on a Mac), then add your headings and bullets here. Your post will look consistent and behave itself.
Three ways to take something off the website, and they behave differently.
To do any of these to one item, open it and use the button at the top right. To do several at once, click Select above the table, tick the items you want, then use Update items.

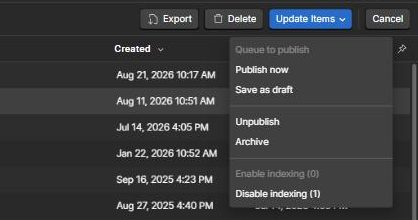
Archiving or deleting a live item does not take it off your website on its own. It only disappears once someone publishes the whole site.
So the routine is: archive the item, then go back to the Edit tab and press Publish. Publishing that single item will not do it, because as far as Webflow is concerned there is no longer an item to publish.
A new item saved as a draft stays hidden no matter how many times the site gets published. When it is ready, open it and choose Publish now, and that one item goes live on its own within a minute or so.
Check your work before the world sees it.
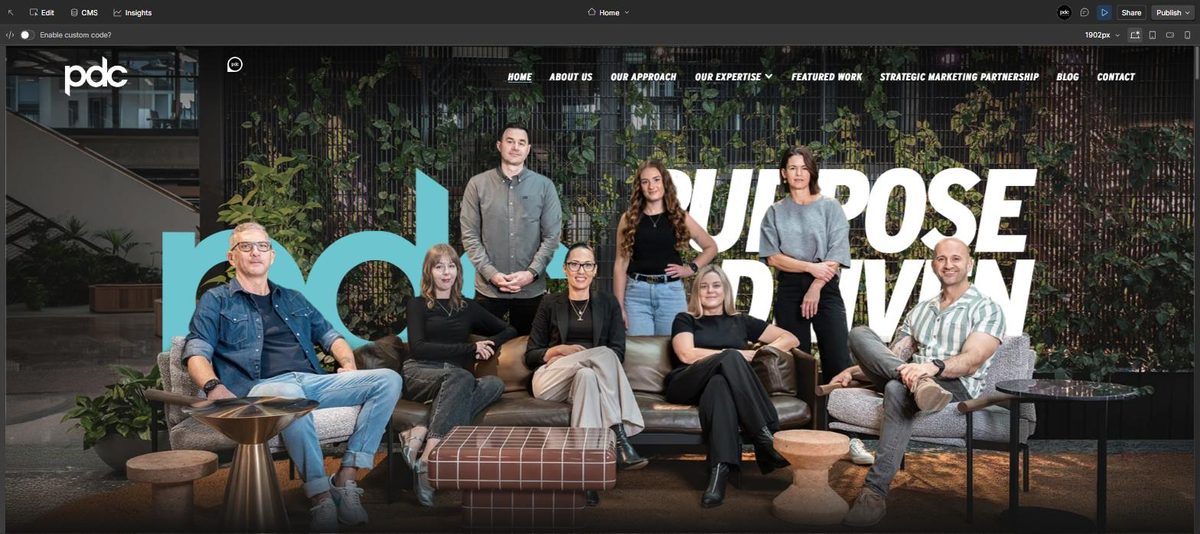
Click the play arrow near the top right. All the editing furniture disappears and you get the page exactly as a visitor would see it. Click it again to go back to editing.
It is worth a quick look on a phone-sized screen too. The icons beside the play arrow switch the preview between desktop, tablet and mobile widths.
The last step, and the only one that makes anything public.
You have swapped the photos and fixed the typo. Right now you are the only person who can see any of it. Press Publish in the top right and a small panel opens.
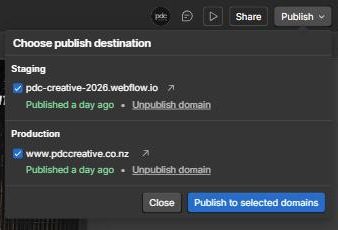
You will usually see two destinations listed:
Tick Production, or tick both, then click Publish to selected domains. Give it a minute, then load your site in a normal browser tab and admire your work.
If only the staging address is ticked, your changes go to the test site and your real website stays exactly as it was. If something you just published is not showing up, this is nearly always why.
You do not have to publish in one sitting. Close the tab and come back tomorrow. Everything you have done is saved and waiting, and your visitors will not have noticed a thing.
The handful of things that trip people up. Worth a second read.
Archive or delete a live item and it stays on your website until somebody publishes the whole site. Archive it, then go to Edit and press Publish.
Anything marked as a draft will not go live, no matter how often the site is published. Open it and choose Publish now when it is ready.
The item is live, but your edits are not. Open it and press Publish now to push them out.
Delete every character and click away, and the box collapses to nothing. Type the new words first.
It rewrites the page's web address, breaks existing links and loses the ranking it had built. Ask us for a redirect instead.
Staging is the .webflow.io test address. Your real site only updates if Production is ticked.
Every image needs a plain description. It helps people using screen readers and it helps Google understand the page.
Straight off a camera they are far too big and they slow the page down. Under 500KB is a good rule of thumb.
The sparkle icon writes tidy copy but it does not know your business. Read it properly before you keep it.
Stuck on a particular bit of a page? Use the speech bubble in the top bar to pin a note right where the problem is, instead of describing it in an email.
Most of your visitors are on a mobile. The device icons beside the preview arrow let you check your changes at phone width before you publish.
Publishing takes a minute or so, and your browser likes to hang on to what it already had. Force a refresh with Ctrl+F5, or Cmd+Shift+R on a Mac.

And if anything here does not match what you are seeing on screen, or you have pressed something and gone a bit pale, get in touch. We would much rather hear from you early than untangle it later. There is no such thing as a silly question.
web@pdccreative.co.nz
